Adding a new counter to the inventory
This guide explains how to add a new counter to the inventory from the staff app.
Prerequisites
-
You are logged in to the staff app terminal that has edit access to Counter.
-
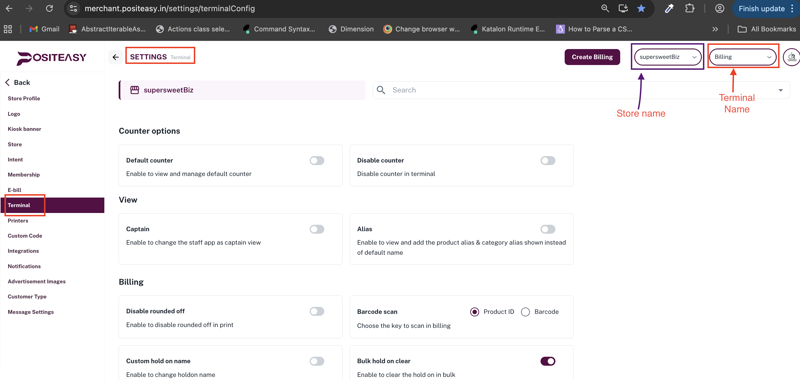
In the merchant app, go to Terminal settings → Inventory management → Counter and select the necessary permissions (Add, Edit).
! Caution : While making changes to the terminal settings in the Merchant app, make sure you have selected the desired terminal.
Step 1: Open the Inventory module
- From the main profile icon, select Inventory → Counter.
Step 2: Start adding a new category
- Click Add Counter
 .
. - A New Counter form or dialog appears.
Example of the Inventory → Counter list page.
The New Counter form with basic details.
Step 3: Enter basic details
In the Enter New Counter Details form, fill in the following:
-
Counter name
- Enter the name of the counter as it should appear in reports and KOT print.
- Examples:
Juice Counter,Dosa Counter,Live Grill.
-
Description (optional)
- Add a short description.
- Example:
Handles all juice and mocktail orders near entrance.
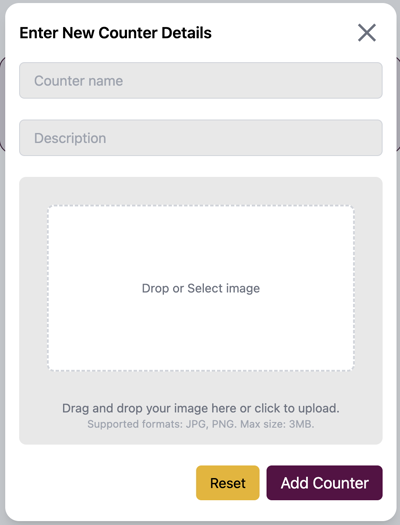
Step 4: Add an image (optional)
In the Drop or Select image section, do one of the following:
- Drag and drop an image onto the upload area, or
- Click browse and select an image from your machine.
Step 5: Save or reset
- If you want to clear all fields and start again, click Reset.
- When all details are correct, click Add Counter to save.